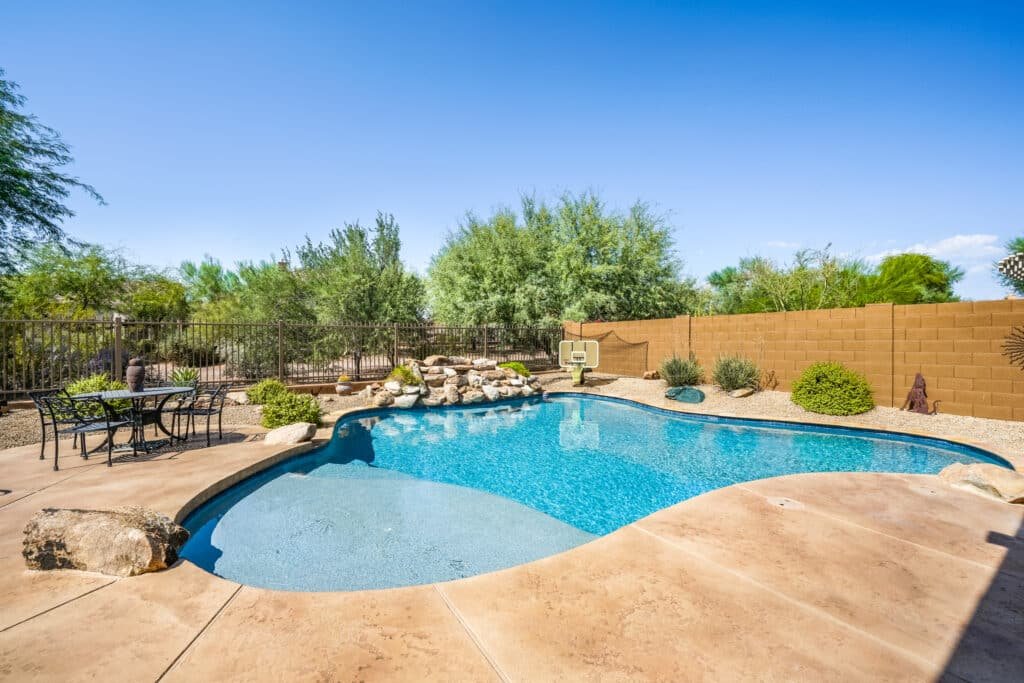
Its important to keep your pool maintained to preserve the life of the pool. Unfortunately, over time, regular use and exposure to the elements can cause damage to your pool’s finish. Resurfacing your pool involves replacing the old surface with new materials to give it an updated and refreshed look. Here’s what you can expect in terms of options and timelines. In your design phase have an idea how you want your living, dining, swimming, golfing, landscaping, pet areas and features to work well together.
Step 1: Drain the Pool
The first step in resurfacing your pool is to drain it. It is important to ensure that the pool is fully drained before starting the resurfacing process. We use a large commercial pump, which will suck up the water and discharge it in a safe location.
Step 2: Chip Out the Damaged Surface
After the pool has been drained, the next step is to chip out the old surface to remove any damaged areas. This process is important because it helps to eliminate any loose or cracked sections of the pool surface, getting it ready for the repairs. A jackhammer or chisel is commonly used during this stage to remove the old pool finish.
Step 3: Fixes Repairs
Once the old material has been removed, it’s time to assess the condition of the pool and fix any repairs. This step is important to ensure that the pool is structurally sound and ready for the new finish. If there are cracks or other damage to the pool structure, now is the time to fix them.
Step 4: Replace Tiles
There are lots of options to replace tiles, however the tile choice must be for a waterline pool tile not a standard kitchen or bath tile. There are lots of upgrade options such as 1×1 or glass tiles that have iridescence, shimmer, varied tones, and often this will require an additional step to ensure they show their brilliance after install. When resurfacing the pool interior, this is the best time to replace any tiles and its likely that even if they look good they may be hollow underneath. Note that the choice of tile size, color, and pattern can affect the overall look of your pool after resurfacing.
Step 5: Install Pebble Interior and Fittings
Now comes the exciting stage of adding the new surface and fittings. The Pebble surface is one of the most popular materials used for pool resurfacing, and it provides a durable, long-lasting finish that gives your pool a modern and sophisticated appearance. After installation, all the fittings will be replaced to complete the job.
Step 6: Return Covers, Fill Pool and Add Chemicals
Once the surface and fittings are in place, the return covers are reinstalled, and the pool is filled. After the pool has been filled, it is time to add the required chemicals to balance the water’s pH and chlorine levels.
Step 7: Pool Deck
Resurfacing the pool deck coatings or installing pavers (with exception to coping) is the final step to creating the masterpiece. If you’re adding more surface space, we’ll pour the additional concrete or add to the paver area. If you prefer a concrete deck, that will take 2-4 weeks to fully cure before applying coatings in your color and design choice. We can reshape the outdoor living area and/or expand to accommodate how you live in the space. Keep similar areas together such as cooking and dining, with the indoor kitchen. Have wet areas separated from areas that need to stay dry.
Overall, resurfacing your pool is a significant project, but it is one that is worth considering if you want to give your pool a fresh look. Keep in mind that cost and timelines will vary based on the size of your pool and your individual needs. Make sure to consult with professionals to determine the best materials and methods for resurfacing your pool. We hope this guide gives you a good overview of the resurfacing process so that you can make an informed decision about your pool’s maintenance needs. If you have any questions, feel free to reach out to us.


