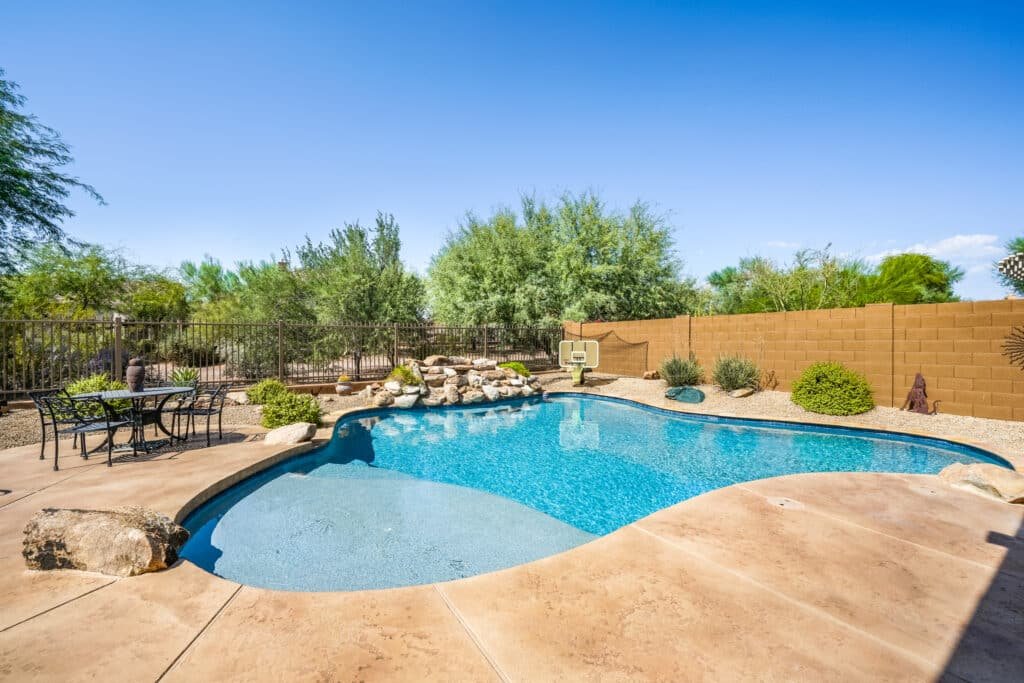
Its important to keep your pool maintained to preserve the life of the pool. Unfortunately, over time, regular use and exposure to the elements can cause damage to your pool’s finish. Resurfacing your pool involves replacing the old surface with new materials to give it an updated and refreshed look. Here’s what you can expect in terms of options and timelines. In your design phase have an idea how you want your living, dining, swimming, golfing, landscaping, pet areas and features to work well together.
Step 1: Drain the Pool
The first step in resurfacing your pool is draining it safely and completely. This is more than simply removing water; timing and method matter. In many areas (including Arizona), draining a pool at the wrong time of year can increase the risk of structural issues due to groundwater pressure or heat exposure. That’s why a professional team will plan the drain based on conditions and ensure it’s carried out in a controlled manner.
We use a large, commercial-grade pump to remove the water efficiently, then discharge it to an approved, safe location in accordance with local guidelines. Once the pool is empty, we’ll check the shell and surrounding areas for visible signs of damage so the following steps can move forward without surprises.
Step 2: Chip Out the Damaged Surface
After the pool is drained, we remove the old finish so the new surface can bond properly. This step is critical because resurfacing is only as strong as the surface beneath it; any loose material, hollow spots, or compromised areas can cause future delamination or early failure.
Using professional-grade chipping tools (often a jackhammer and precision chisels), we break out damaged plaster or worn finish material and remove any weak areas. The goal is to create a clean, stable surface for repairs and the new interior finish. This step can be noisy and dusty, but it’s one of the most essential parts of a quality remodel because it determines how well the new finish will hold up over time.
Step 3: Fixes Repairs
Once the old material is removed, we assess the pool shell and address any structural issues before applying any new material. This is where we correct the problems that caused wear or failure, because covering them up without first repairing them is a shortcut that can lead to cracks, leaks, or premature resurfacing needs.
Repairs may include patching cracks, smoothing rough areas, fixing bond beam issues, addressing minor hollow spots, or correcting areas where water has impacted the shell. If plumbing concerns or leak indicators appear during inspection, this is also the best time to investigate—because everything is exposed and accessible. Taking care of these repairs now helps ensure the pool is sound, watertight, and ready for a long-lasting finish.
Step 4: Replace Tiles
There are lots of options to replace tiles, however the tile choice must be for a waterline pool tile not a standard kitchen or bath tile. There are lots of upgrade options such as 1×1 or glass tiles that have iridescence, shimmer, varied tones, and often this will require an additional step to ensure they show their brilliance after install. When resurfacing the pool interior, this is the best time to replace any tiles and its likely that even if they look good they may be hollow underneath. Note that the choice of tile size, color, and pattern can affect the overall look of your pool after resurfacing.
Step 5: Install Pebble Interior and Fittings
Now comes the transformation stage, installing your new interior finish. Pebble surfaces are one of the most popular options for pool resurfacing because they combine durability with a high-end look. They resist wear better than standard plaster, offer a more natural aesthetic, and typically hold up well in harsh sun and frequent use.
During installation, the new interior material is applied evenly across the pool shell and carefully finished to create a consistent texture and appearance. Color selection plays a big role here too your interior finish affects the water color, how the pool looks in different lighting, and how visible debris may be between cleanings.
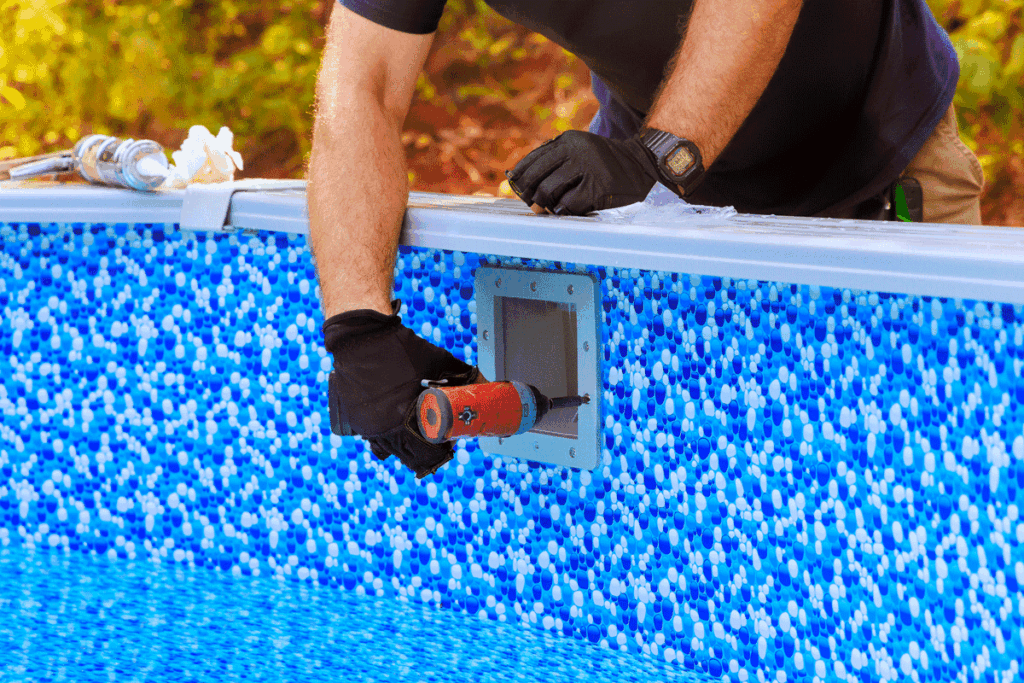
Once the finish is installed, we replace key fittings and components so everything functions properly and looks clean and up to date. This typically includes items such as return fittings, drains (as required), skimmer components, and other hardware that should be refreshed during a remodel to match your new surface and ensure proper circulation.
Step 6: Return Covers, Fill Pool and Add Chemicals
After the interior finish and fittings are completed, we reinstall return covers and any final components needed before filling. Then the pool is filled, and start-up begins. This is a very important phase because water chemistry and circulation during the first days can affect the long-term appearance and performance of your new surface.
Once filled, we begin balancing the water by adjusting key levels like pH, alkalinity, calcium hardness, and chlorine. Proper start-up helps prevent issues like mottling, scaling, streaking, or premature discoloration, especially with new plaster or pebble finishes. You’ll also receive guidance on brushing schedules, filter run time, and what to watch for during the first couple of weeks so your new surface cures correctly and looks great.
Step 7: Pool Deck
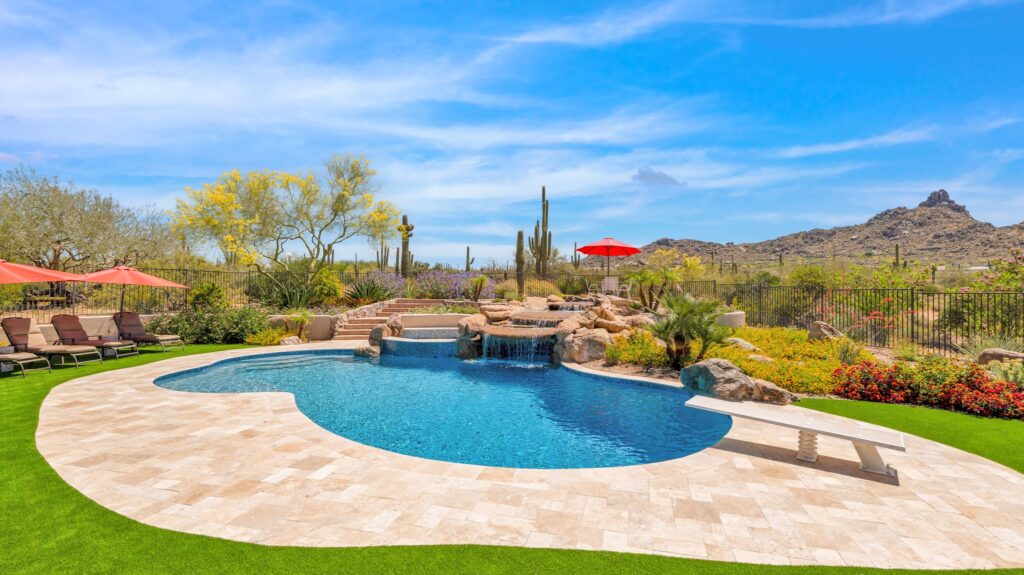
Resurfacing the pool deck coatings or installing pavers (with exception to coping) is the final step to creating the masterpiece. If you’re adding more surface space, we’ll pour the additional concrete or add to the paver area. If you prefer a concrete deck, that will take 2-4 weeks to fully cure before applying coatings in your color and design choice. We can reshape the outdoor living area and/or expand to accommodate how you live in the space. Keep similar areas together such as cooking and dining, with the indoor kitchen. Have wet areas separated from areas that need to stay dry.
Conclusion
Overall, resurfacing your pool is a significant project, but it is one that is worth considering if you want to give your pool a fresh look. Keep in mind that cost and timelines will vary based on the size of your pool and your individual needs. Make sure to consult with professionals to determine the best materials and methods for resurfacing your pool. We hope this guide gives you a good overview of the resurfacing process so that you can make an informed decision about your pool’s maintenance needs. If you have any questions, feel free to reach out to us.
FAQs
1) How long does pool resurfacing take?
Most pool resurfacing projects take about 1–2 weeks for the interior portion, depending on the pool size, repair needs, tile scope, and weather. If you’re also doing decking, pavers, or major layout changes, the overall remodel timeline can be longer.
2) How do I know if my pool needs resurfacing?
Common signs include rough surfaces, stains that won’t lift, discoloration, peeling, cracking, flaking, or exposed underlayer material. If the pool feels uncomfortable on feet or swimsuits snag easily, it’s usually time to resurface.
3) Is pebble finish better than plaster?
Pebble finishes are typically more durable and longer-lasting than standard plaster, and they offer more design options for water color and texture. Plaster is often more budget-friendly and smoother, but it may require resurfacing sooner depending on use, chemistry, and climate.
4) When can I swim after resurfacing?
Swimming usually becomes safe after the pool is filled, balanced, and the start-up process is complete, often within several days. However, exact timing depends on the finish type and your contractor’s start-up procedure. Following the recommended brushing and chemistry plan is key to protecting the new surface.
About the Author
Arrowhead Deck & Pools is a Phoenix-based team specializing in pool remodeling, decking, and outdoor upgrades built for Arizona living. We share practical guidance to help homeowners plan smarter projects and create outdoor spaces they’ll enjoy for years.
Website: https://arrowheaddeck.com/
Email: solutions@arrowheaddeck.com
Phone: +18558332525